

Easy Installation – Start Playing in Minutes
Follow these simple steps to get started
Step 1
Connect to TV
Plug the game stick directly into the HDMI port of your TV or monitor.
Step 2
Provide Power
Connect the USB power cable to the game stick and plug the other end into a TV USB port or mobile charger.
Step 3
Insert Controller Receiver
Plug the wireless controller USB receiver into the USB port of the game stick.
Step 4
Turn On and Pair
Switch on the TV and select the correct HDMI input. Turn on the controllers; they will connect automatically.
Step 5
Start Playing
The game menu will appear on screen. Use the controller to browse games, select one, and start playing.
Console
Consoles
Check out our FAQ
Get answers to your questions about our products and services.
What games the Playretro's console supports?
Playretro's console has over 10,000 games and supports popular gaming titles from PS1, Nintendo, Sega, NES, Genesis, and many more. This device is enough to make you relive your childhood days.
How to claim my 6 months warranty?
All our products go through over 100 checkpoints, so the chances of you receiving a damaged or defective product are almost zero. However, if you do encounter any issues, you can call us at. We are available 24/7 to assist you.
How can I add my own games to it?
Installing games in the 90s BlastBox is easy , Just download the desired game and paste the game file into the sd card of the gamestick. Plug the game stick into the tv/monitor/projector and search the game name from the search bar Bang! now Enjoy that game
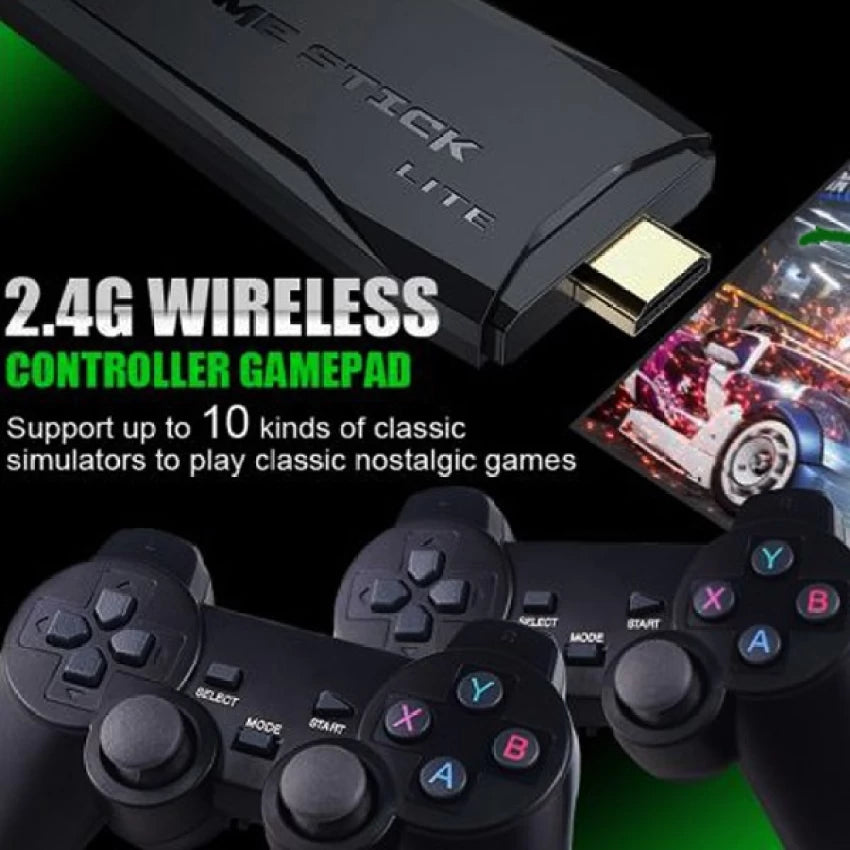
How many players can play at a time?
In the game box, you will receive two remotes which allow you to play both multiplayer and single-player games.
Where to contact if I face any issues?
If you do encounter any issues, you can . We are available 24/7 to assist you.